Co2 system settings am Pressure gauge / pressure reducer and Rules - how many Blow do I need it? In this Guides we want to explain to you how to make one Co2 plant because it is set correctly and what needs to be taken into account. You can read about the function and the advantages and disadvantages of a Co2 system in the corresponding guide. Today is about them Installation and commissioning and the Settings a Co2 system.
How much Co2 do I actually need?
Before we get to the OPERATION If you come to a Co2 system, we would of course like to briefly go into the need for Co2 again. We already have in ours Article on CO2 calculation explains how to determine this. Values such as the PH value and also the KH value are important. These should be determined accordingly. In addition, of course, other factors come into play which are responsible for the exact need for Co2.
The Co2 value can be determined by calculation, measurement with long-term tests or by reading the KH and PH values in a table. However, we would like to mention the guidelines again here:
Recommended value for a heavily overgrown aquarium: 10 mg/l to 25 mg/l
Recommended value for a sparsely overgrown aquarium: 25 mg/l to a maximum of 35 mg/l
As you can already see from the guide values, the main thing is to include the plants in the consideration. Every plant has different requirements here. The number of plants also plays a role. In addition, factors such as the water surface must also be considered. The larger this is, the more Co2 is driven out of the water. The lighting also plays a very important role.
Diffusion Reactor and Pinball: What is that?
Maybe we'll start with how the Co2 gets into the water first. As already described in the function, the Co2 can be dissolved in the water using a so-called flipper. This is also called a diffusion reactor and is available in different sizes and designs. Be it as a staircase or as a spindle. We have attached certain models for you here. These always depend on the size of the aquarium and ultimately how much Co2 is to be released.


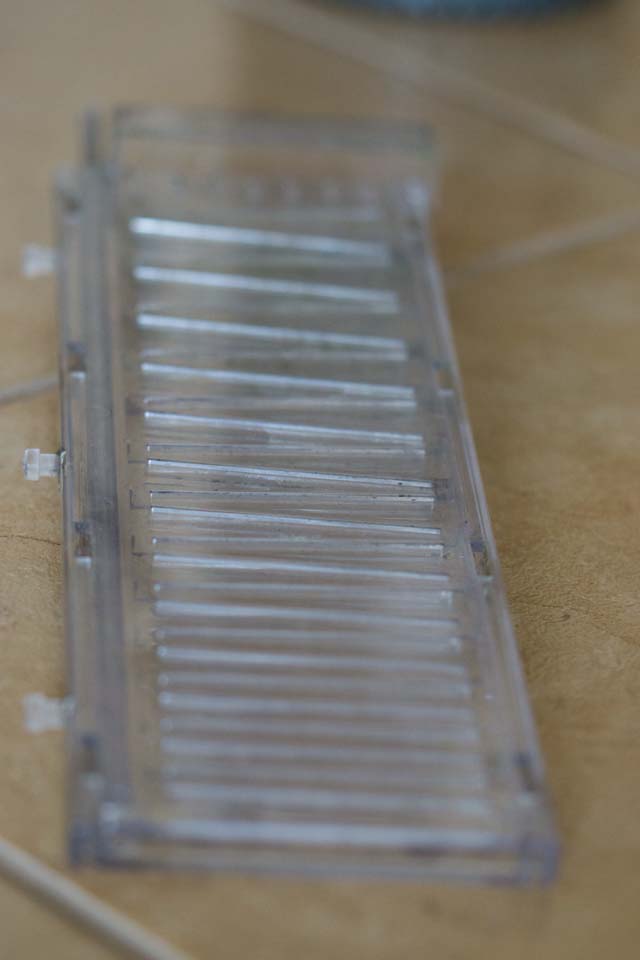
In such a diffusion reactor or pinball machine, the bubbles are transported from the bottom up and ideally they are no longer visible at the end of the stairs or spiral because they have completely dissolved. These bubbles have to be adjusted, because it makes a difference whether 120 bubbles are let into the pinball machine or only 10 per minute. Depending on this, you can use this to determine or increase or decrease the Co2 content in the water.
How to set this number of bubbles is explained below. To do this, you have to understand how the pressure reducer works.
How many bubbles do I actually need?
Of course, before you get to the actual setting, you first have to know how many bubbles you need and how to measure them. Basically, it means trying out a few things here, because the exact content of the dissolved CO2 in the water can only be measured and determined through long-term tests. So you set a certain number of bubbles and then check the Co2 via a long-term test or the calculation of KH and PH values.
Of course, we want to give beginners and beginners a guideline here. In a heavily planted aquarium, which requires a lot of Co2, you should set your pressure reducer or Co60 system to 2 bubbles per minute. That means every second a bubble comes out of the hose into the pinball machine.
Anyone who has an aquarium that is not so heavily overgrown and also expels little Co2 through surface movement, for example, will also get by with a value of around 30 bubbles per minute. So here it is first to set one of these guide values and then check and monitor the Co2 value precisely via the test, so that you can adjust it later.
Guide values Co2 bubbles in the diffusion reactor or pinball machine
Low Co2 requirement - 30 bubbles per minute
High Co2 demand - 60 bubbles per minute
The setting via the pressure reducer simply explained
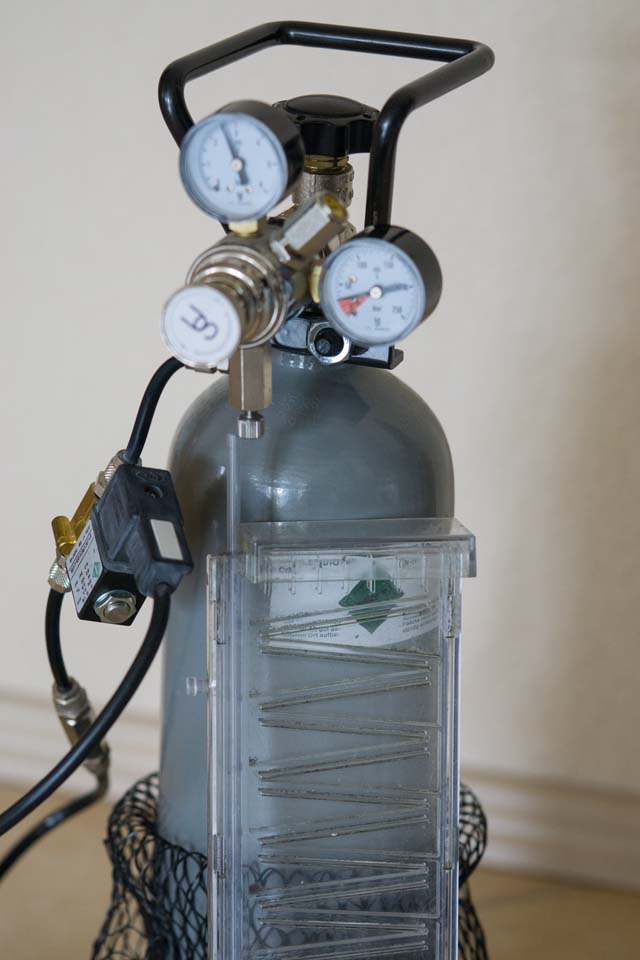
Now we come to the setting of the bubbles with the help of the manometer and pressure reducer on the Co2 bottle. We have also included a correspondingly illustrated guide below. Basically, almost all systems have the same structure, although today there are also Co2 bottles where only a manometer can be found. In our example, we have a Co2 bottle with a 5 kg filling and a double manometer. But what are these two pressure reducers for?
Pressure reducer 1 shows the bottle content in bar
Pressure reducer 2 shows the outlet pressure into the aquarium and thus the number of bubbles
There are also two controls. What are they for?
Regulator 1 sets the outlet pressure
Controller 2 sets the outlet into the aquarium and thus the number of bubbles
Anyone who is familiar with the subject of compressed gas tanks knows that the Co2 is stored under pressure. A pressure of around 50 bar can be assumed. Of course, this pressure must be regulated accordingly, because if you let it escape completely, the bottle would be empty in a very short time. To do this, you use a pressure reducer and thus create a constant outflow rate of the gas.
Basically, the pressure of manometer 1 must be set on regulator 2. This pressure should be around 2 - 3 bar, because that is the pressure that goes in the direction of the aquarium.
But the setting with the wheel / controller 2 is more important, because there I can set the Co2 content in the Diffusion Reactor and Pinball going to hire. So here I put the gas that flows into the aquarium and thus causes the bubbles. Here you have to turn very carefully and watch out for the bubbles. These must then be counted accordingly and the minute must also be extrapolated.
But now again Step-by-step instructions for the settings:
- First assemble everything according to the operating instructions
- Then open the gas bottle at the top.
- The pressure gauge 1 should now go up (it shows the tank pressure versus content)
- Now you can adjust the regulator 1 accordingly.
- It regulates the outlet pressure of pressure gauge 2
- Pressure gauge 2 shows the outlet pressure. Guide value 2 - 3 bar. This should be set.
- With the wheel and controller 2 we now set the number of bubbles. Change slowly
- It affects the gas that flows through the hose to the pinball machine. Bubble count
But here is the corresponding graphic / picture:

If you follow these steps, you should be able to adjust the system accordingly.
If the pressure gauge 1 is in the red area, as shown in the picture, the bottle is usually soon empty and the pressure is already decreasing.
Of course, the regulations of the different manufacturers can differ somewhat, although the basic principle should be the same.
Long-term test of the Co2 value in the aquarium
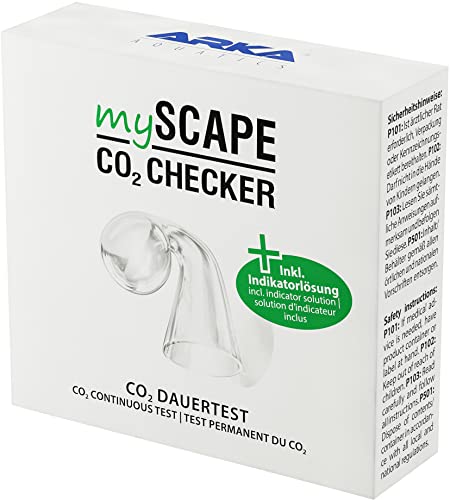
As already mentioned above, it is important to do a test after the setting to see what the value in the aquarium looks like. For that there are different possibilities. On the one hand, manufacturers such as JBL offer a permanent test for Co2, which works with an indicator liquid. This shows you whether the Co2 value is good or not so good. You have a very simple control and do not always have to do calculations. Alternatively, there are other tests which give you the result immediately. These are usually called rapid tests and can also be taken initially. However, we have already made experiences and tests and found that these are not always optimal.


Control and regulation via the PH controller
A certainly very good way to determine the Co2 value on the one hand and to regulate it on the other hand is to regulate it using a Ph controller with a corresponding probe. This probe sits in the aquarium and constantly decreases the PH value there. This measurement activates a solenoid valve on the CO2 system and regulates the CO2 supply to the diffusion reactor and the pinball machine. We have also attached the corresponding pictures for you here. A very good option, although not always completely correct, because the PH value is also buffered by the Kh value and cannot be changed at will with Co2.
It should also be noted that the PH probe is subject to wear and tear and must also be calibrated from time to time.
[the_ad id = “1019 ″]